If you have ever looked at a keyboard sold in Japan and wondered about the extra keys around the spacebar, you have met the Japanese keyboard layout. The good news for learners is that understanding how to type Japanese has almost nothing to do with owning special hardware. This guide explains the JIS keyboard, the kana printed on the keys, the two ways to input Japanese, and how the IME turns your typing into hiragana and kanji—so you can start typing Japanese on the computer you already have.
What the JIS keyboard layout actually adds
JIS (Japanese Industrial Standards) is the physical layout used on most keyboards in Japan. It keeps the familiar QWERTY letters but adds a cluster of keys around the spacebar that a US keyboard does not have:
- 半角/全角 (Hankaku/Zenkaku) in the top-left corner toggles the IME on and off—switching between half-width Latin input and full-width Japanese input.
- 無変換 (Muhenkan, "no conversion") and 変換 (Henkan, "conversion") sit on either side of the spacebar. 変換 asks the IME to convert your reading into kanji; 無変換 keeps it as kana.
- ひらがな (Hiragana) / カタカナ locks the IME into a specific kana mode.
You will also notice small kana characters printed on each key. Those markings exist because the JIS layout supports two different input methods, described next.
Romaji input vs kana input
There are two ways to type Japanese, and the printed kana are the clue.
Romaji input means you type Hepburn-style Latin letters—shibuya, tokyo—and the IME converts them into kana as you go. This is by far the most common method, and the one most learners use, because it needs nothing more than the alphabet you already know.
Kana input means each key produces the hiragana printed on it, so し has its own key. It can be faster once mastered, but it requires memorizing an entirely new key map. For a full comparison, see kana input vs romaji input.
How the Japanese IME works
The IME (Input Method Editor) is the software that makes Japanese typing possible. The flow is always the same:
- Type the reading. Enter romaji and the IME shows hiragana—
kyoubecomesきょう. - Press Space to convert. The IME offers kanji candidates—
きょうmight become今日,京, or教. Press Space again to cycle through the options. - Press Enter to commit. The chosen text is fixed in place.
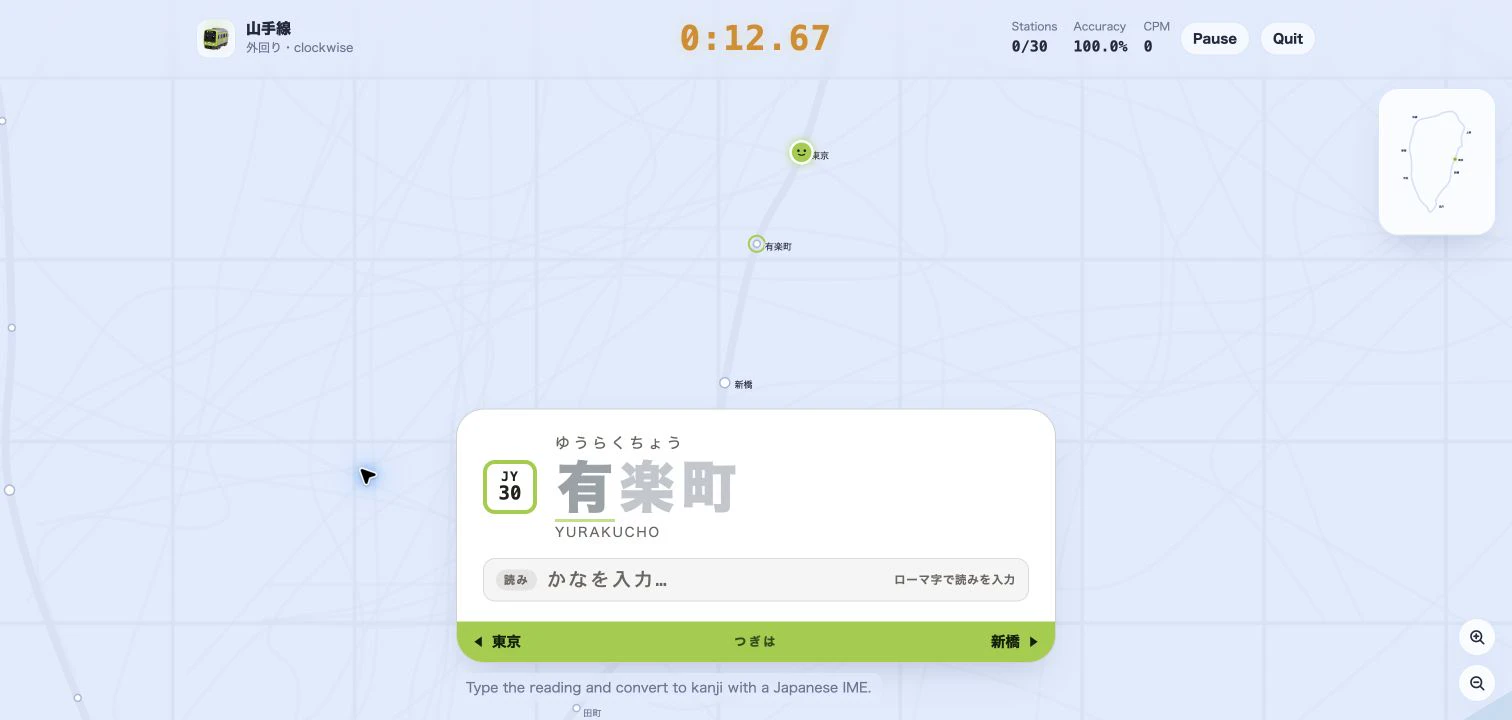
If you only want hiragana or katakana, you simply skip the conversion step. This type → hiragana → convert → commit rhythm is the heart of Japanese computer input, and it is exactly what our Kanji mode practices. To go deeper on the difference between typing modes, read the three Japanese typing modes.
You do not need a Japanese keyboard
This is the key takeaway: a physical JIS keyboard is optional. Every modern operating system can add a Japanese IME to an ordinary QWERTY keyboard for free.
- Windows: add the Japanese language, which installs Microsoft IME. Toggle it with Windows + Space.
- macOS: add the Japanese input source and switch with Control + Space or the menu-bar flag.
- Chromebook / Android / iOS: add a Japanese keyboard in settings.
- Any platform: Google Japanese Input (Mozc) is a popular free alternative with a large dictionary.
Because you are typing romaji, your existing keys are all you need. The 半角/全角 key on a JIS board is just a convenient shortcut for the language toggle your OS already provides.
Practice typing Japanese for real
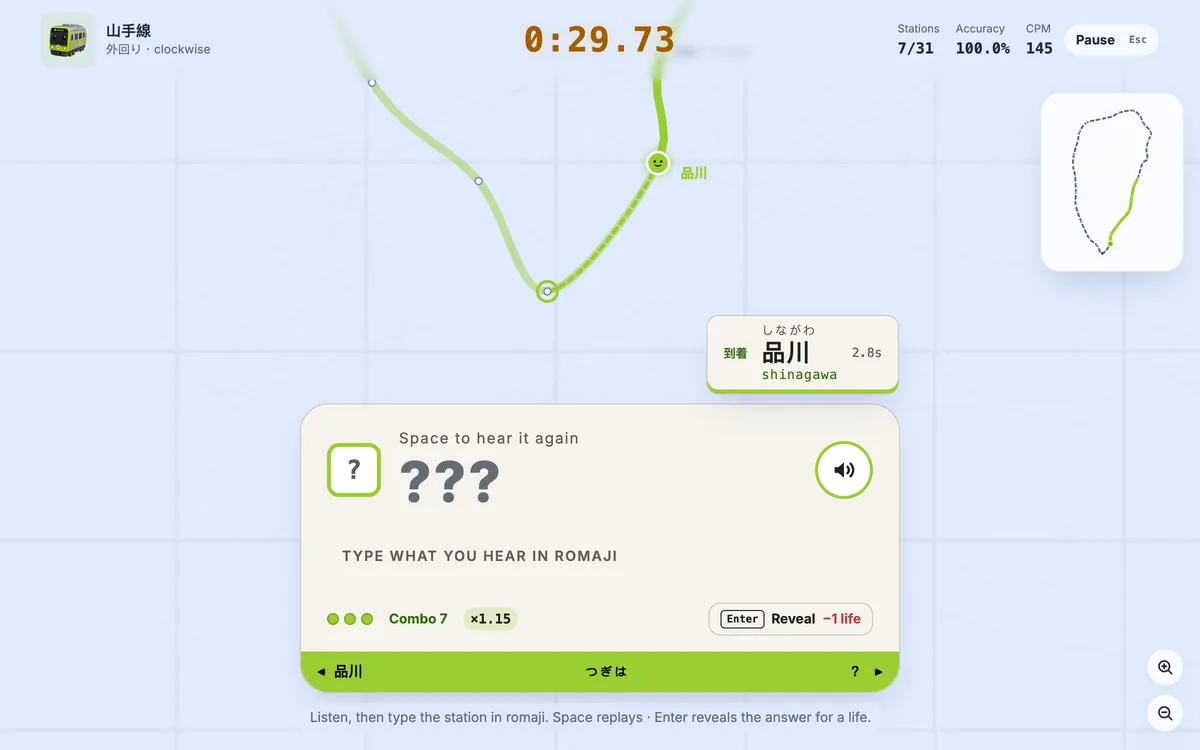
Reading about the IME only takes you so far—muscle memory comes from typing real words. Our game turns Tokyo station names into typing drills, so you build speed on vocabulary you will actually recognize.
Start with romaji on the Yamanote Line to get comfortable, then switch on your IME and try the same route in kanji. Keep the Hepburn romaji cheat sheet open for the tricky syllables, and browse the network map to pick your next line. Set up your IME once, and every station becomes practice.